Hottest Fall Trends of 2015

Whenever fashion trends change, the hair industry is right there changing with it. As we all know the best part about fall is wrapping up in our big comfy sweaters, leggings, a scarf,  and of course the cutest new ankle boots. The 'low maintenance' look that looks like we spent all day planning it. Easy going fashion is this seasons thing, we're here to let you know the same goes for your hair.

Kick summer color to the curb

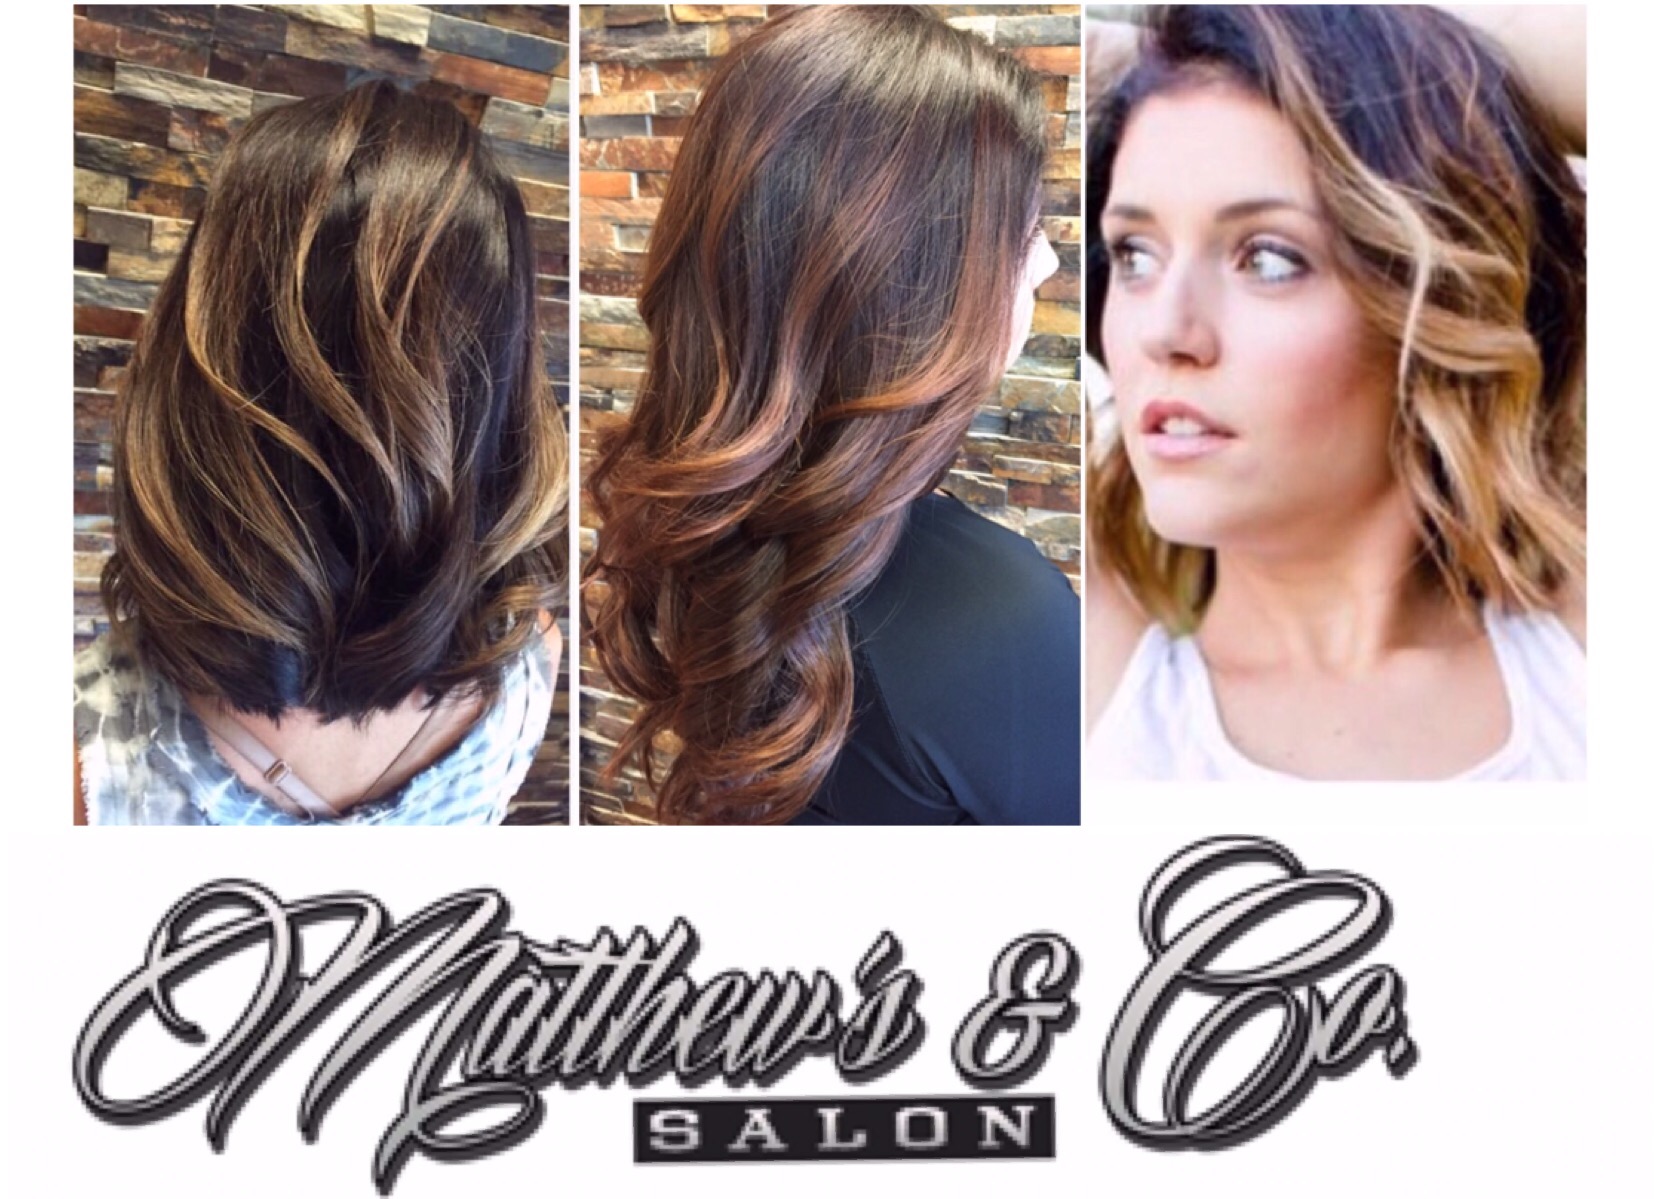
On your drive to work notice the leaves changing from green to their perfect blend of rich coppers and browns. A change in color is the easiest way to get yourself prepared for the chilly weather we've already gotten a little taste of. This year we will be seeing a slight change in everyone's favorite ombre trend.  Were changing into a much softer, natural flow of colors. "Lived in hair"  is a darker natural root with a flow of contrasting colors and dimension using chocolate brown, chestnut brown, warm golds and red tones.

This style is perfect for all natural hair colors. As we all know blondes are the ones who don't adapt to change as easily as the rest of us, but that doesn't mean you should be scared to try something new. Keeping the blonde around the front face pieces is key, while darkening up your base the slightest amount and adding the bronze undertones. This will give you the perfect fall change.

As a brunette you will start to see a combination of red and gold tones softly intertwining throughout your loose curls. The key to making a few of these strands 'POP' is to keep a cooler toned  brown lowlight directly under the highlight.

Redheads will be able to pick between going on the blonde side, or the copper side. If you're having trouble deciding look at the underlying pigment of the skin tone. If red, stick to coppers. If yellow, stick to blonde.

Hair Salon Flowery Branch


To cut or not to cut, that is the question..

Were not here to tell you short hair or long hair is "in" because not one style will show off every clients features. However, we've been noticing blunt cuts making quite a few appearances all over. Luckily for all of our flowery branch family, Matthew just trained under the best precision hair cutters in the world ZGAT (@ZGAT_MM on Instagram) and brought it back for all of our talented stylist to get a little taste.
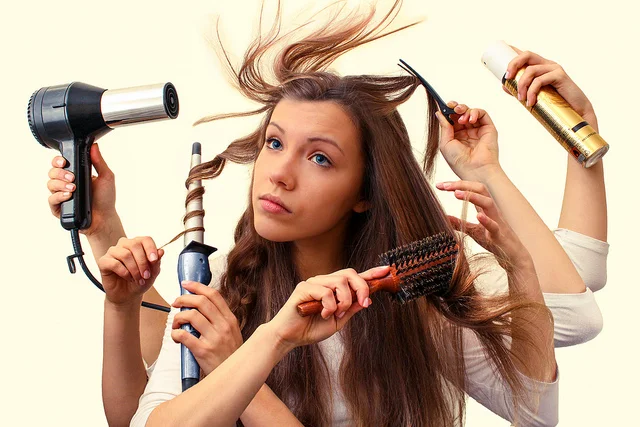
Styling & Profiling

We're still keeping it simple and easy when it comes to styling. The hottest thing right now are tousled curls. The one way were going to change from your every day look is to go up one curling iron size than normal. (If you use a 1 inch switch to a 1 1/4 inch) Doing so will create a "messy curl" that will allow you to rock it for multiple days! When curling you want to make sure the curls are going away from the face, allowing it to show off your new color while opening your face and brightening your eyes. The final step is to run your hands through the curls, have fun with it and remember they aren't suppose to be perfect!

Products, Products, Products

  • Gel mousse- medium hold. Apply to mid shaft and ends while hair is damp. This will give the curl more texture to hold on to.
  • Pump, pump it up- light hold root booster. Apply to roots only while hair is damp. It gives the perfect amount of boost without giving you pageant queen hair. 
  • Dry Conditioner- Apply small amounts to dry hair before curling. It helps enhance the shine of your hair showing off the vibrancy of your new Artego color line color. 
  • Hold on Hairspray- Medium hold hair spray allowing the curls to stay in place through the day without the crunchy feeling.

Don't forget to follow us on social media!

Welcome Our Three Newest Products

Matthew's & Co. wants to welcome in our three newest products; Gel Mousse, Rockin cream and Dry Conditioner! These products will give your hair the ability to have multiple styles. For those of you who have used any of our products may have noticed that these products are formulated especially for the south! Meaning, if you are looking for a humidity resistant product you're in the right spot! Read below to understand a little more about these products and to see which one will be the next addition to your hair product cabinet. 

Hair Salon Flowery Branch

Gel Mousse

Gel mousse is THE perfect product for all hair types!

  1. Natural curls: Using a quarter size amount will give a little extra texture and life back into your beautiful curls, without the dry crunch 80's style perm look!  
  2. Thin fine hair: Adding a dime size amount will put life back into your hair. Gel mousse will give you the perfect amount of volume and texture making the hair shaft appear more full. 
  3. Thick full hair: Using a quarter size in your long thick locks will give the perfect amount of movement in your hair. It allows your hair to have more texture, letting the round brush do its job and add movement and volume without it falling the second your blow out is complete. 

This product should always be used on wet hair and evenly distributed throughout the hair, using a Wet Brush! 

Hair Salon Flowery Branch

Rockin Cream

Rocking cream has totally taken over all of the MCS staffs hearts. This has become the salon's favorite blow out balm.  Adding just a dime size amount on wet hair leaves the hair with a soft, silky and shiny blow out.  Luckily for all hair types this product IS also a thermal protectant, meaning it will help preserve your color treated hair and reduce damage from the blow dryer, flat irons and curling irons. 

Hair Salon Flowery Branch

Dry Conditioner

Dry conditioner is the perfect way to add shine without weighing  your hair down with oils. Being a thermal protectant and humidity resistant product, you can add this product wet or dry. SMALL amounts of this dry conditioner is all you will need. This product is perfect for all hair types. 

MCS's favorite way to use dry conditioner: 

1. Towel dry hair and add a blow out cream (Smooth-e) 

2. Blow dry hair 100% with a round brush 

3.Add small amounts of dry conditioner to ends for each section of the hair

4. Use flat iron/curling iron to enhance the maximum amount of shine. 

That sums up the latest Matthew's & Co.  products, stop in and try them out! -XO MCS staff 


Follow us on social media! 

Behind the Scenes with a Professional Stylist!

As stylist behind the chair, we hear all the time questions and statements along the lines of  "You guys are speaking a different language" or "Wow, there's a lot more behind doing hair than just 'coloring' or just 'cutting' someone's hair?".  For this week's blog our stylist team decided to break down the steps of what goes on in our head as you sit in our chairs to be pampered. Our Master stylist, Trish, decided to demonstrate a common service done in the salon (partial highlight with base color) on her wonderful client, Debbie. 

Hair Salon Flowery Branch

Step 1: Breaking the Base

As seen in the 'Before' picture located above, our client started with a much darker natural hair color, and ended with a beautifully toned highlighted blonde. The way her base color was achieved way by first 'breaking the base'. Doing this allowed stylist, Trish,  to lighten her natural color prior to highlighting, giving her a lighter canvas to work with, while letting the client's hair pull to a natural tone without leaving a line of demarcation or leaving the hair damaged.  

Step 2: Highlighting 

When highlighting, the stylist determines the best formula for the client. Many factors come into formulating such as the condition of the client's hair and how light or dark the client desires. 

Step 3: Foiling pattern

If you have ever had your hair highlighted in more than one salon you might have noticed those crazy looking foils going in every direction. Have you ever wondered why every colorist doesn't use the exact same pattern on your hair?  Many things factor into which placement is chosen. (hair length, natural look, more dramatic looking highlights) Stylist, Trish, picked a very natural look highlighting technique, allowing her client to be able to pull it up in a pony tail with out getting the stripey affect, while also giving a very soft grow out in between appointments. 

Step 4: Toning 

Toning is used to correct any unwanted tone left in the hair at the shampoo bowl. In this service Trish decided to use the blueberry Artego color shine mask. This is a BLUE mask tones out any yellow, brassy tones and leaves the hair smelling like fresh picked blueberries.  

Step 5: Blow drying with product

Trish decided to use our Matthews & Co. 'Rockin' Cream.' This product is thermal safe and adds a little hold and body while adding shine and hydration to the hair.  Debbie just wanted a soft natural looking blow out so this one product took care of all of her needs. Trish used a round brush and flipped out the ends of her hair, while pulling out an unwanted curl.

Step 6: Trim

When preforming any chemical service we always recommend to keep up with your haircuts, so your hair is not left damaged! Trish decided to do a dry trim, since she was taking off very minimal length and shaping up her previous haircut. This trim allowed Debbie to leave with fresh ends and no splint ends! 

-XOXO MCS Staff


That sums up the "Behind the scenes with a professional stylist" blog of the week. Thanks everyone for reading, we love feedback on the blogs and would love to answer any questions you guys have! Please follow us on our social media networks! 

Quick steps to re-create your pro blow out!

As we all know there are many different techniques to style your hair, from the blow drier to your hot tools (curling iron, flat iron, deep waver etc.)  This will be a little step by step way to speed up the time of styling while also giving you the 'just stepped out of the salon' look every morning! 

Hair Salon Flowery Branch

Step 1: Choose the Right Products

The start the every good style out is choosing the right products. No matter what texture your hair is you should always start out with a leave in conditioner and heat protector.

Hair Salon Flowery Branch

Step 2: Application

Next step is applying a root booster lightly around the top section. Once all your products have been applied and evenly distributed (brushed through the hair evenly) you are ready to start blow drying. 

Step 3: Power Dry

When blow drying you should always power dry your hair to about 80-90 percent dry, this means quick blow dry with out using a brush. While power drying make sure to focus on the roots first, doing so will allow the water to travel down the hair shaft evenly reducing frizz.

Step 4: Sectioning

Next, you're ready to start sectioning, we suggest investing in multiple clips and pre-sectioning the entire head from the beginning. Always start from the nape of the neck and work your way up, leaving the middle (mohawk section) for last, keeping wet hair separated from dry hair will also reduce frizz.

The part where most all clients get confused is using the round brush. The easiest way to get comfortable is by rotating the nozzle of the blow drier (the little attachment we all throw away when we get new blow driers).  Doing this will prevent you from twisting your wrist in an uncomfortable position. Pushing your hair in the opposite direction of where you wear it is how you will create your volume.  

Step 5: To Hot or Not

Once all of your hair is completely dry you can then decide to use a hot tool or just complete the look with a finishing product! 

*image by Flickr


Please follow our social networks: